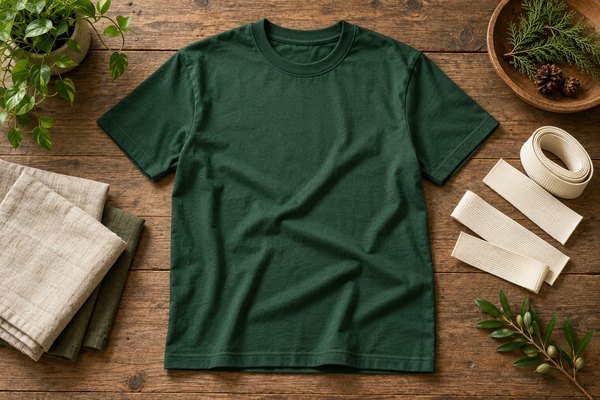
Campaign T-shirt necklines are small components with a large effect on how the finished garment feels. A buyer may spend most of the briefing time on fabric weight and graphics, then describe the collar only as standard crew neck. That leaves the supplier to interpret rib height, opening, attachment and finishing. A clearer component brief helps avoid a neckline that looks or feels different from the approved sample.
Specify the neckline as a complete assembly: opening dimensions, rib construction, finished height, joining method and wearer comfort. Review it on the actual body fabric and include after-care appearance in approval. Material names alone do not describe the finished collar.
Component one: the opening
Review neck width and depth using defined measurement points. Ask the supplier for a diagram or measurement description. The opening should suit the intended wearer and garment silhouette. A familiar size label does not establish whether the neck is comfortable.
Check representative sizes rather than reviewing one shirt only. Pattern grading may affect the neckline relationship to shoulders and body width. If users will wear the shirt over another garment, include that context. Do not enlarge the opening without reviewing its appearance and stability.
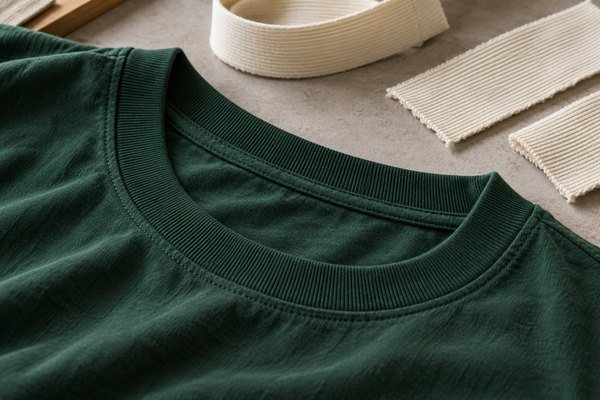
Component two: the rib
Ask for the rib composition and construction. Record whether it is intended to coordinate with the body fabric and how its shade will be approved. A color difference at the collar can become conspicuous even when the rest of the shirt looks consistent.
Review rib feel and behavior physically. Avoid an unsupported promise that one composition automatically guarantees recovery. The complete knit, finishing and assembly matter. A sample can help the buyer explain the desired feel more clearly than an adjective such as strong or premium.
Component three: finished height
Specify the visible finished rib height rather than relying only on an uncut strip measurement. Ask how the assembly will look after attachment. Compare it with the approved garment proportions and planned print placement.
A wider rib may create a different visual style; a narrower rib can also change the impression of the garment. Neither is automatically better. Choose according to the brief and record the result. Do not let the supplier interpret a reference photo without confirming dimensions.
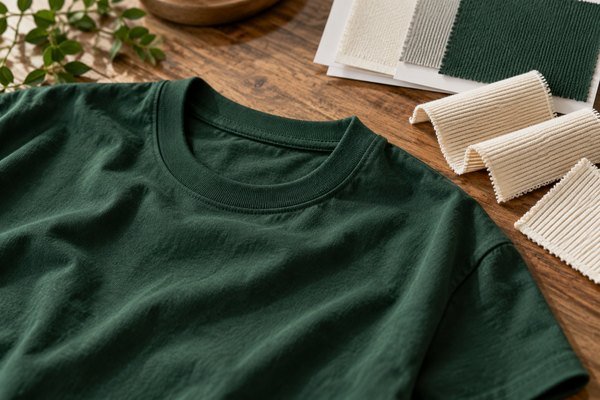
Component four: attachment and seams
Inspect the joining seam and its relationship to the neckline. Review whether stitching, seam bulk or finishing creates discomfort or an uneven appearance. Handle the sample inside and outside. The parts hidden in a product photograph can still matter to the wearer.
Ask the supplier to describe the proposed construction when a particular seam treatment is required. Keep that instruction within the approved sample record. A later construction substitution may change feel even when the outside dimensions remain similar.
Component five: back-neck details
Review tape, labels and any printed neck identification together. A label that feels acceptable separately can become uncomfortable when attached with bulky stitching or placed against another component. Ask where each detail will sit on the finished garment.
If private labeling is required, provide the artwork and dimensions early. Check whether the branding method is compatible with the neckline construction. Avoid adding a new neck detail after garment approval without assessing the finished assembly and care requirements.
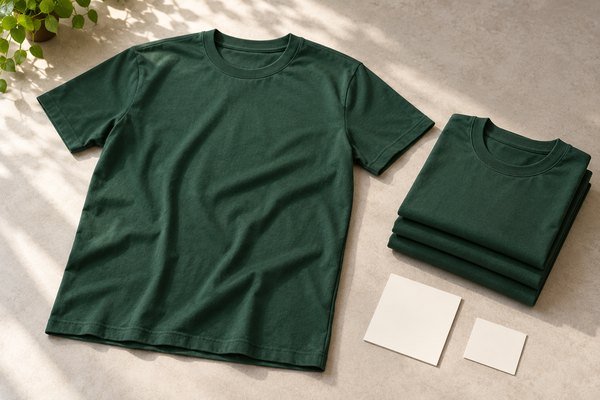
Component six: recovery and after-care shape
Handle the neckline as a wearer would, without creating an arbitrary destructive demonstration. If recovery is an essential performance requirement, agree how it will be assessed and what evidence is needed. An informal pull does not establish a standardized result.
Include the neckline in the agreed wash review. Note shape, rib appearance, seam condition and any relevant dimensional change. Keep the care procedure with the result. Review a revised sample if the supplier changes rib or attachment to address a problem.
Component seven: the reference in the order file
Retain the complete approved shirt and identify the neckline specification alongside the body fabric and size chart. Add close photographs to aid communication. Record the sample version and approval owner so different teams do not use different collars as the target.
The product-development recommendation is to treat the neckline as a controlled assembly. A clear description does not require a long document. A few defined measurements, material details and sample references can prevent the factory from guessing a component that every wearer will notice.
Frequently asked questions
Can I specify only a rib percentage?
That describes composition, not the complete construction, feel or finished appearance.
Is a wider collar always more durable?
Do not infer performance from width alone. Review the complete assembly and intended use.
Should the neckline be checked after washing?
Yes, where care behavior matters to the program. Include it in the agreed finished-garment review.
Prepare a neckline brief
Send Polltee your garment reference, audience and preferred neckline measurements. Ask for a complete sample that shows the rib, seams and branding details together before bulk approval.
Related buying resources
Review customization options · Read the related purchasing guide · Discuss your B2B project with Polltee