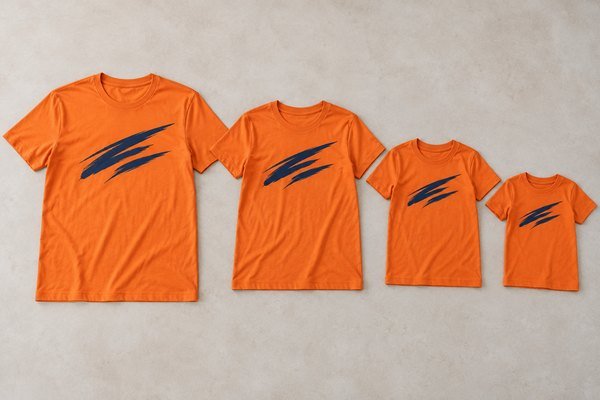
Campaign logo placement is a visibility decision made on a three-dimensional garment, even when the artwork begins as a flat file. An agency may position a mark perfectly on a digital outline and still find it too low, too small or awkwardly close to a neckline when worn. Different sizes create another challenge. Buyers need a placement plan that the print team can measure and the client can understand.
Define print dimensions and placement using garment reference points. Review the design on representative sizes and in normal wear. Decide whether one print size or a controlled set of size groups serves the audience, then approve the complete decorated result.
Workshop task: identify the message
Ask the campaign team what must be recognized first. A logo, short phrase and secondary information do not necessarily need equal emphasis. Review the expected viewing distance and whether shirts will mainly be seen from the front, back or in photographs.
Keep the garment’s role clear. A shirt cannot always carry every detail from a flyer without sacrificing readability. Use the design team’s hierarchy to simplify the graphic where appropriate. Any wording change still needs client approval before artwork is released.
Workshop task: draw the print boundary
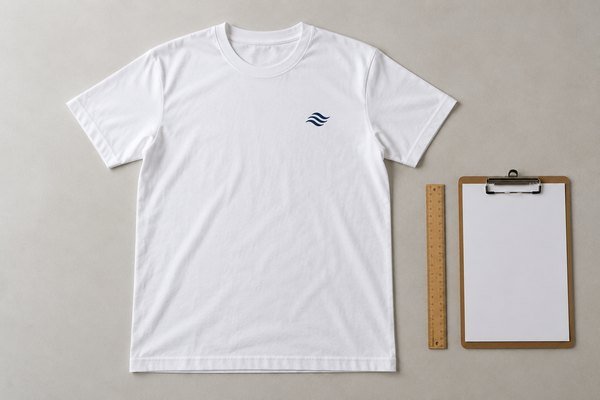
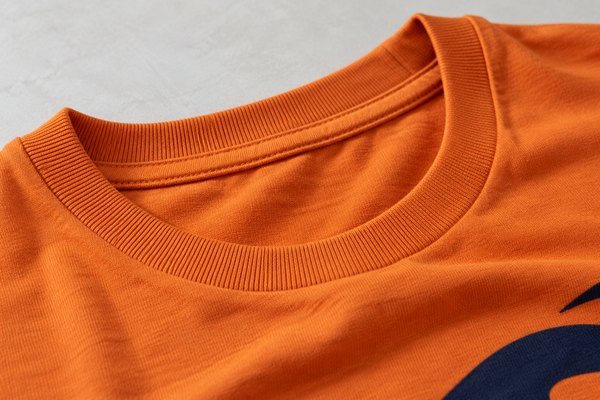
Place the artwork at its intended dimensions on a garment outline. Identify seams, neckline and other areas that constrain the available print space. Ask the supplier which locations are suitable for the proposed decoration process.
Do not stretch a logo to fill an area without checking its proportions. A visually large design can be difficult to reproduce consistently if it approaches seams or varies sharply across sizes. Review the garment and process together before committing to a layout.
Workshop task: choose reference points
Define how placement will be measured. The buyer and decorator should use the same reference, such as an agreed distance from a specific neckline point to the top of the print. Include horizontal alignment instructions.
A description such as center chest can be interpreted differently. Attach a diagram and measurement note rather than relying on that phrase alone. Ask the supplier to confirm the method so the order file describes a reproducible position.
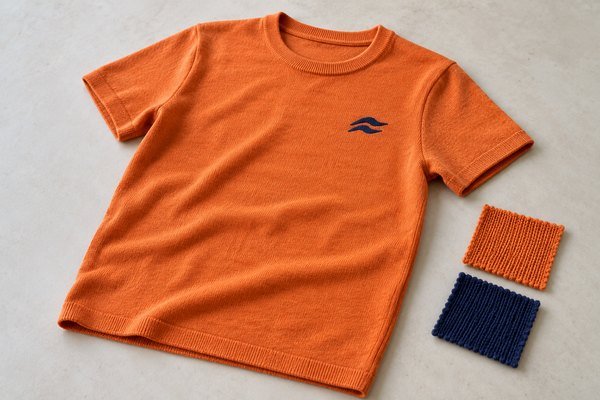
Workshop task: compare representative sizes
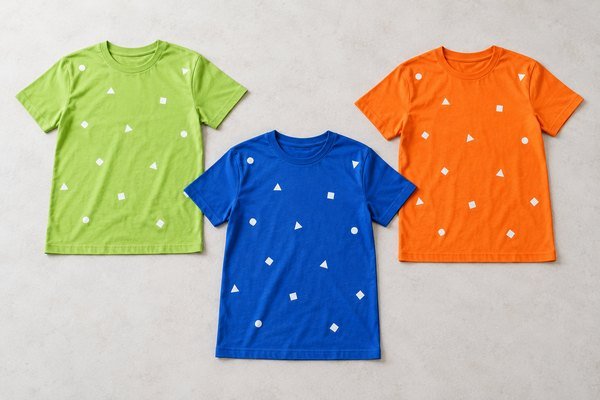
Review the smallest and largest relevant garments along with a middle size. Consider the relationship between graphic dimensions, body width and available space. A single print size simplifies setup but may not deliver the intended appearance across every shirt.
If size groups are proposed, record which garment sizes use each artwork dimension. Confirm setup and handling implications. The objective is a manageable system that serves the audience, not an unnecessary separate print file for every size.
Workshop task: inspect normal wear
Use a complete decorated sample. Review it on a consenting wearer or a suitable display form. Ask how movement, fit and garment folds affect the visual. A flat-lay image can communicate details but cannot answer every wear question.
Check the design in the types of photographs the program expects to use. Keep this review honest; avoid edited images that remove folds or change proportions. The client should approve the garment’s practical appearance rather than only an idealized marketing mockup.
Workshop task: coordinate additional print locations
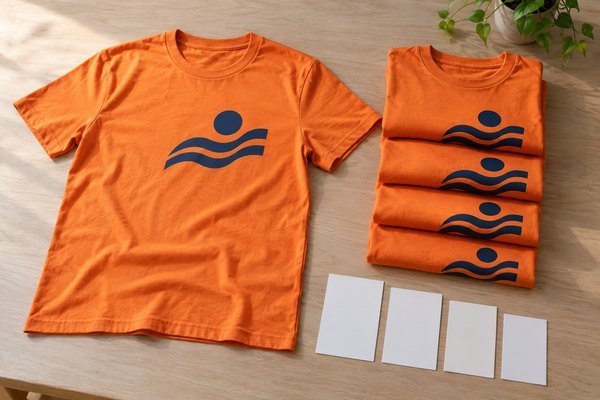
A front emblem, back message and sleeve mark need separate placement instructions. Confirm artwork versions and dimensions for each. Ask whether the combination creates production or comfort issues on the selected shirt.
List the locations clearly in the quotation and order. An additional sleeve graphic is a production change, even if it is small. Review cost, setup and sampling implications before treating it as included work.
Workshop task: release one measured layout
Create an approved placement sheet with the final artwork, dimensions, reference points, size-group mapping and sample photographs. Identify the approval owner. Make sure the factory has the final version rather than a series of partially approved messages.
The art-direction recommendation is to make visibility testable through the sample review. Ask whether people can recognize the intended mark under normal use conditions. This is more useful than choosing print dimensions merely because they look dramatic on a screen.
Frequently asked questions
Should every size use the same graphic dimensions?
It depends on the garment range and desired appearance. Compare representative sizes before deciding.
Is a digital mockup sufficient?
It helps establish intent. A physical sample helps review scale, position, fabric folds and process limits.
Can I move the design after sample approval?
Treat it as a revision. Confirm the new position and any effect on setup or completed work.
Build a placement sheet with Polltee
Send final artwork, garment sizes and visibility priorities. Ask Polltee to review the measurable layout and suitable sample sizes before printing the bulk order.
Related buying resources
Review customization options · Read the related purchasing guide · Discuss your B2B project with Polltee