Are you struggling with confusing steps and tight deadlines for your campaign T-shirt order? You are not alone.
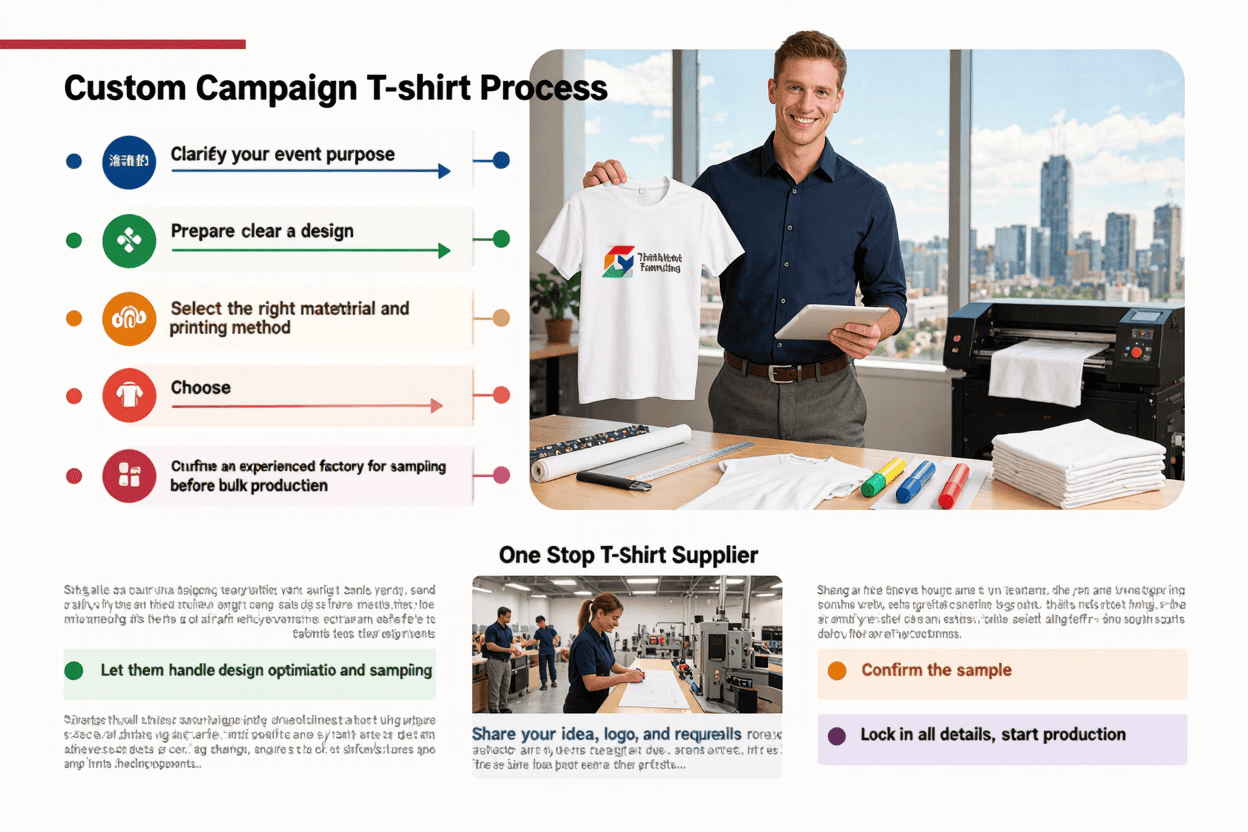
The easiest way to make custom campaign T-shirts is to clarify your event purpose, prepare a clear design, select the right material and printing method, choose an experienced factory for sampling, and confirm all details before bulk production.

Many people find the process overwhelming, but with some clear steps, you can save time and avoid costly mistakes. I have worked with many campaign organizers and learned that a straightforward plan makes the whole process so much easier. Let’s walk through the most practical roadmap.
What is the easiest way to go from idea to bulk?
It is easy to lose control of your campaign T-shirt order if you do not pick the right supplier.
The simplest way is to find a one-stop factory: share your idea, logo, and requirements, let them handle design optimization and sampling, confirm the sample, lock in all details, and then start production.

Many of my clients are first-time campaign organizers. They often worry they will miss a detail or make a costly change in the middle of production. My advice to them is always the same: start by choosing a supplier that can handle everything from design to delivery. Here is how I break down the steps for my customers:
Table: One-Stop vs. Multi-Vendor Approach
| Step | One-Stop Factory | Multi-Vendor Approach |
|---|---|---|
| Design Optimization | Yes (included) | No (DIY or third-party needed) |
| Sampling | Fast, integrated | Slower, possible delays |
| Communication | Single contact, faster | Multiple contacts, confusion |
| Timeline | Predictable, easier to manage | Often delayed |
| Cost | Transparent, fewer surprises | Hidden costs possible |
First, collect your design ideas and event needs. This includes your logo, slogan, and any branding guidelines. Send these to the factory and ask for their feedback on design, fabric, and printing options. Factories with ready basic T-shirt stock can speed up the process. Once the factory sends you a sample, review it carefully. Only confirm bulk production after you are happy with the sample. Avoid changes after this point, since changes can delay your order and add costs. Efficient communication is key, so reply promptly to the factory’s questions and confirm all delivery schedules in advance.
How do I prepare before contacting a supplier?
Preparation makes or breaks your T-shirt project.
You must know your campaign’s main goal, your target audience, and bring clear design materials before you start.

In my experience, many clients are not sure what information the factory needs. This leads to back-and-forth emails and wasted days. Here’s a checklist I share with my customers before they reach out:
Table: Pre-Supplier Checklist
| Task | Why It Matters |
|---|---|
| Define usage | Guides design and messaging |
| Target audience | Affects size, style, color choices |
| Collect logo/slogan files | Needed for clear, printable artwork |
| Decide on material | Impacts feel, price, and durability |
| Choose printing method | Changes look, cost, and timeline |
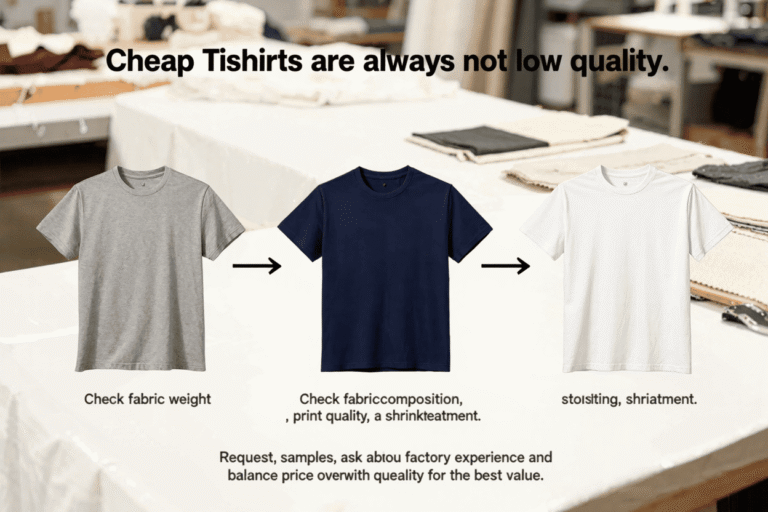
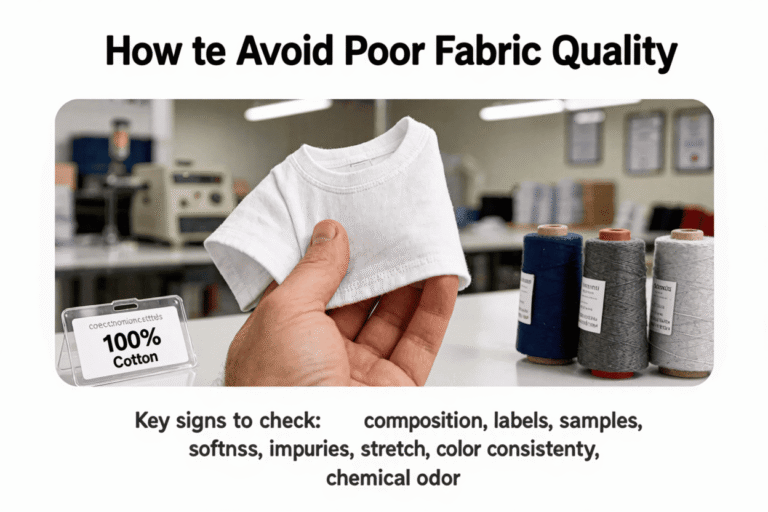
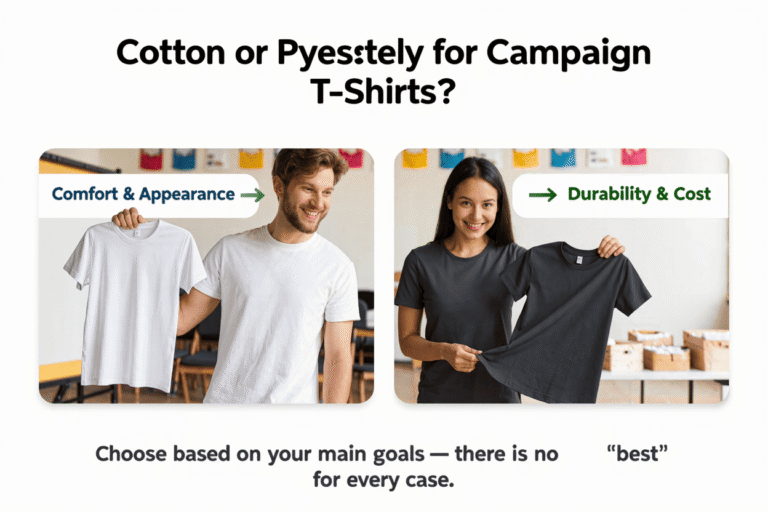
First, know if your T-shirts are for campaign staff, volunteers, or giveaways. That helps you pick the main color and T-shirt cut. Next, collect your logo in a high-resolution file and any slogans in easy-to-read fonts. For materials, the most common are cotton and polyester. Decide based on your budget and the weather during your event. Screen printing works best for simple logos and big orders; heat transfer is quicker for small runs or many colors. When you have all this, your supplier can start sampling fast and get you a better price.
How do I confirm designs and avoid costly mistakes?
Small errors at this stage can turn into expensive problems later.
Always request a physical sample and review every detail before you approve bulk production.

I have seen campaigns lose weeks because of simple mistakes—such as the wrong logo size or incorrect T-shirt color. Here is my personal system for checking samples:
Table: Sample Review Checklist
| Item to Check | What to Look For |
|---|---|
| Fabric | Correct type, weight, and feel |
| Print quality | Sharpness, alignment, color accuracy |
| Size | Matches your target audience |
| Label/tag | Private label as requested |
| Packaging | Polybag, carton requirements |
Ask the factory to send a photo and video of the sample, or ship you a piece if time allows. Look at the logo placement, spelling, pantone colors, and print texture. Wear the sample if possible to check comfort and size fit. If something is off, ask for a change at the sample stage, not later. Confirm the packaging and shipping labels if you need barcodes or special instructions. Once you approve, do not change the order. Every modification after sample confirmation can push your delivery back or add surprise costs.
How do I make sure my order is delivered on time?
Poor planning causes stress, missed events, and wasted money.
Confirm the production timeline, delivery method, and all milestones before you sign off on your order.

Many organizers think production is the only step, but shipping often takes longer than expected. I tell my customers to work backwards from their event date. Here’s a timeline guide I use with my clients:
Table: Typical Campaign T-shirt Order Timeline
| Step | Time Needed | Tips |
|---|---|---|
| Design & Prep | 2-3 days | Fast feedback is key |
| Sample Production | 5-7 days | Confirm all details |
| Bulk Production | 10-15 days | Faster with in-stock styles |
| Shipping | 5-10 days (air/express) | Plan for customs clearance |
Ask the factory for a written schedule, and check off each stage as it finishes. Make sure you know who handles customs and delivery at your end. If your schedule is tight, pick a factory with ready stock and express shipping options. Stay in touch with your supplier every few days. Quick replies mean fewer delays. If you need phased delivery, confirm this early so part of your order can ship while the rest is in production.
Conclusion
Getting custom campaign T-shirts is simple if you clarify your needs, prepare clear designs, choose the right supplier, confirm samples, and plan every step before you start.